Learn how to make stunning DIY star macrame bracelets! Our step-by-step guide covers essential knots, material tips, and creative design ideas for handmade friendship jewelry.
There is a certain magic to a handmade bracelet. It is not just a piece of string and metal; it is a tangible story—a measure of patience, a few drops of focus, and a lot of love. As we scroll endlessly through online catalogs, we are searching for that perfect accessory, often forgetting that the most meaningful pieces are the ones we craft with our own fingers.
If you have been looking for a creative outlet that yields a wearable, beautiful result, you have stumbled upon the perfect project. Today, we are diving into the world of macrame jewelry by recreating the gorgeous, gold-accented star bracelets you see above. We are going to break down the exact materials, the precise knot counts, and the secret to that perfect, adjustable finish.
Let’s weave a little starlight onto our wrists.
Why Macrame Jewelry is Having a Major Moment
Before we get our hands dirty, let’s talk about the allure of macrame. Why are these textured, knotted pieces taking over Instagram and Etsy?
It comes down to a craving for tactility. In a world dominated by smooth, cold plastic and glass screens, a textured, woven cord feels incredibly grounding. The “Cobra Weave”—the specific knotting pattern we are using—creates a beautifully dimensional, rope-like texture that catches the light in a way smooth metal never can.
Furthermore, the star motif is timeless. It represents guidance, dreams, and hope. By adding that small, brilliant gold star to a woven base, you are turning a simple accessory into a wearable talisman. It feels intentional. It feels personal.
Gathering Your Materials: What You Need for This Project
One of the reasons I love this project is how incredibly accessible the supplies are. You don’t need a massive craft room; you just need a desk.
The Non-Negotiable: Waxed Polyester Cord
If there is one material I advise you not to compromise on, it is the cord. Do not use plain cotton or cheap satin. Cotton frays, and satin is too slippery to hold tight knots. You absolutely need waxed polyester cord.
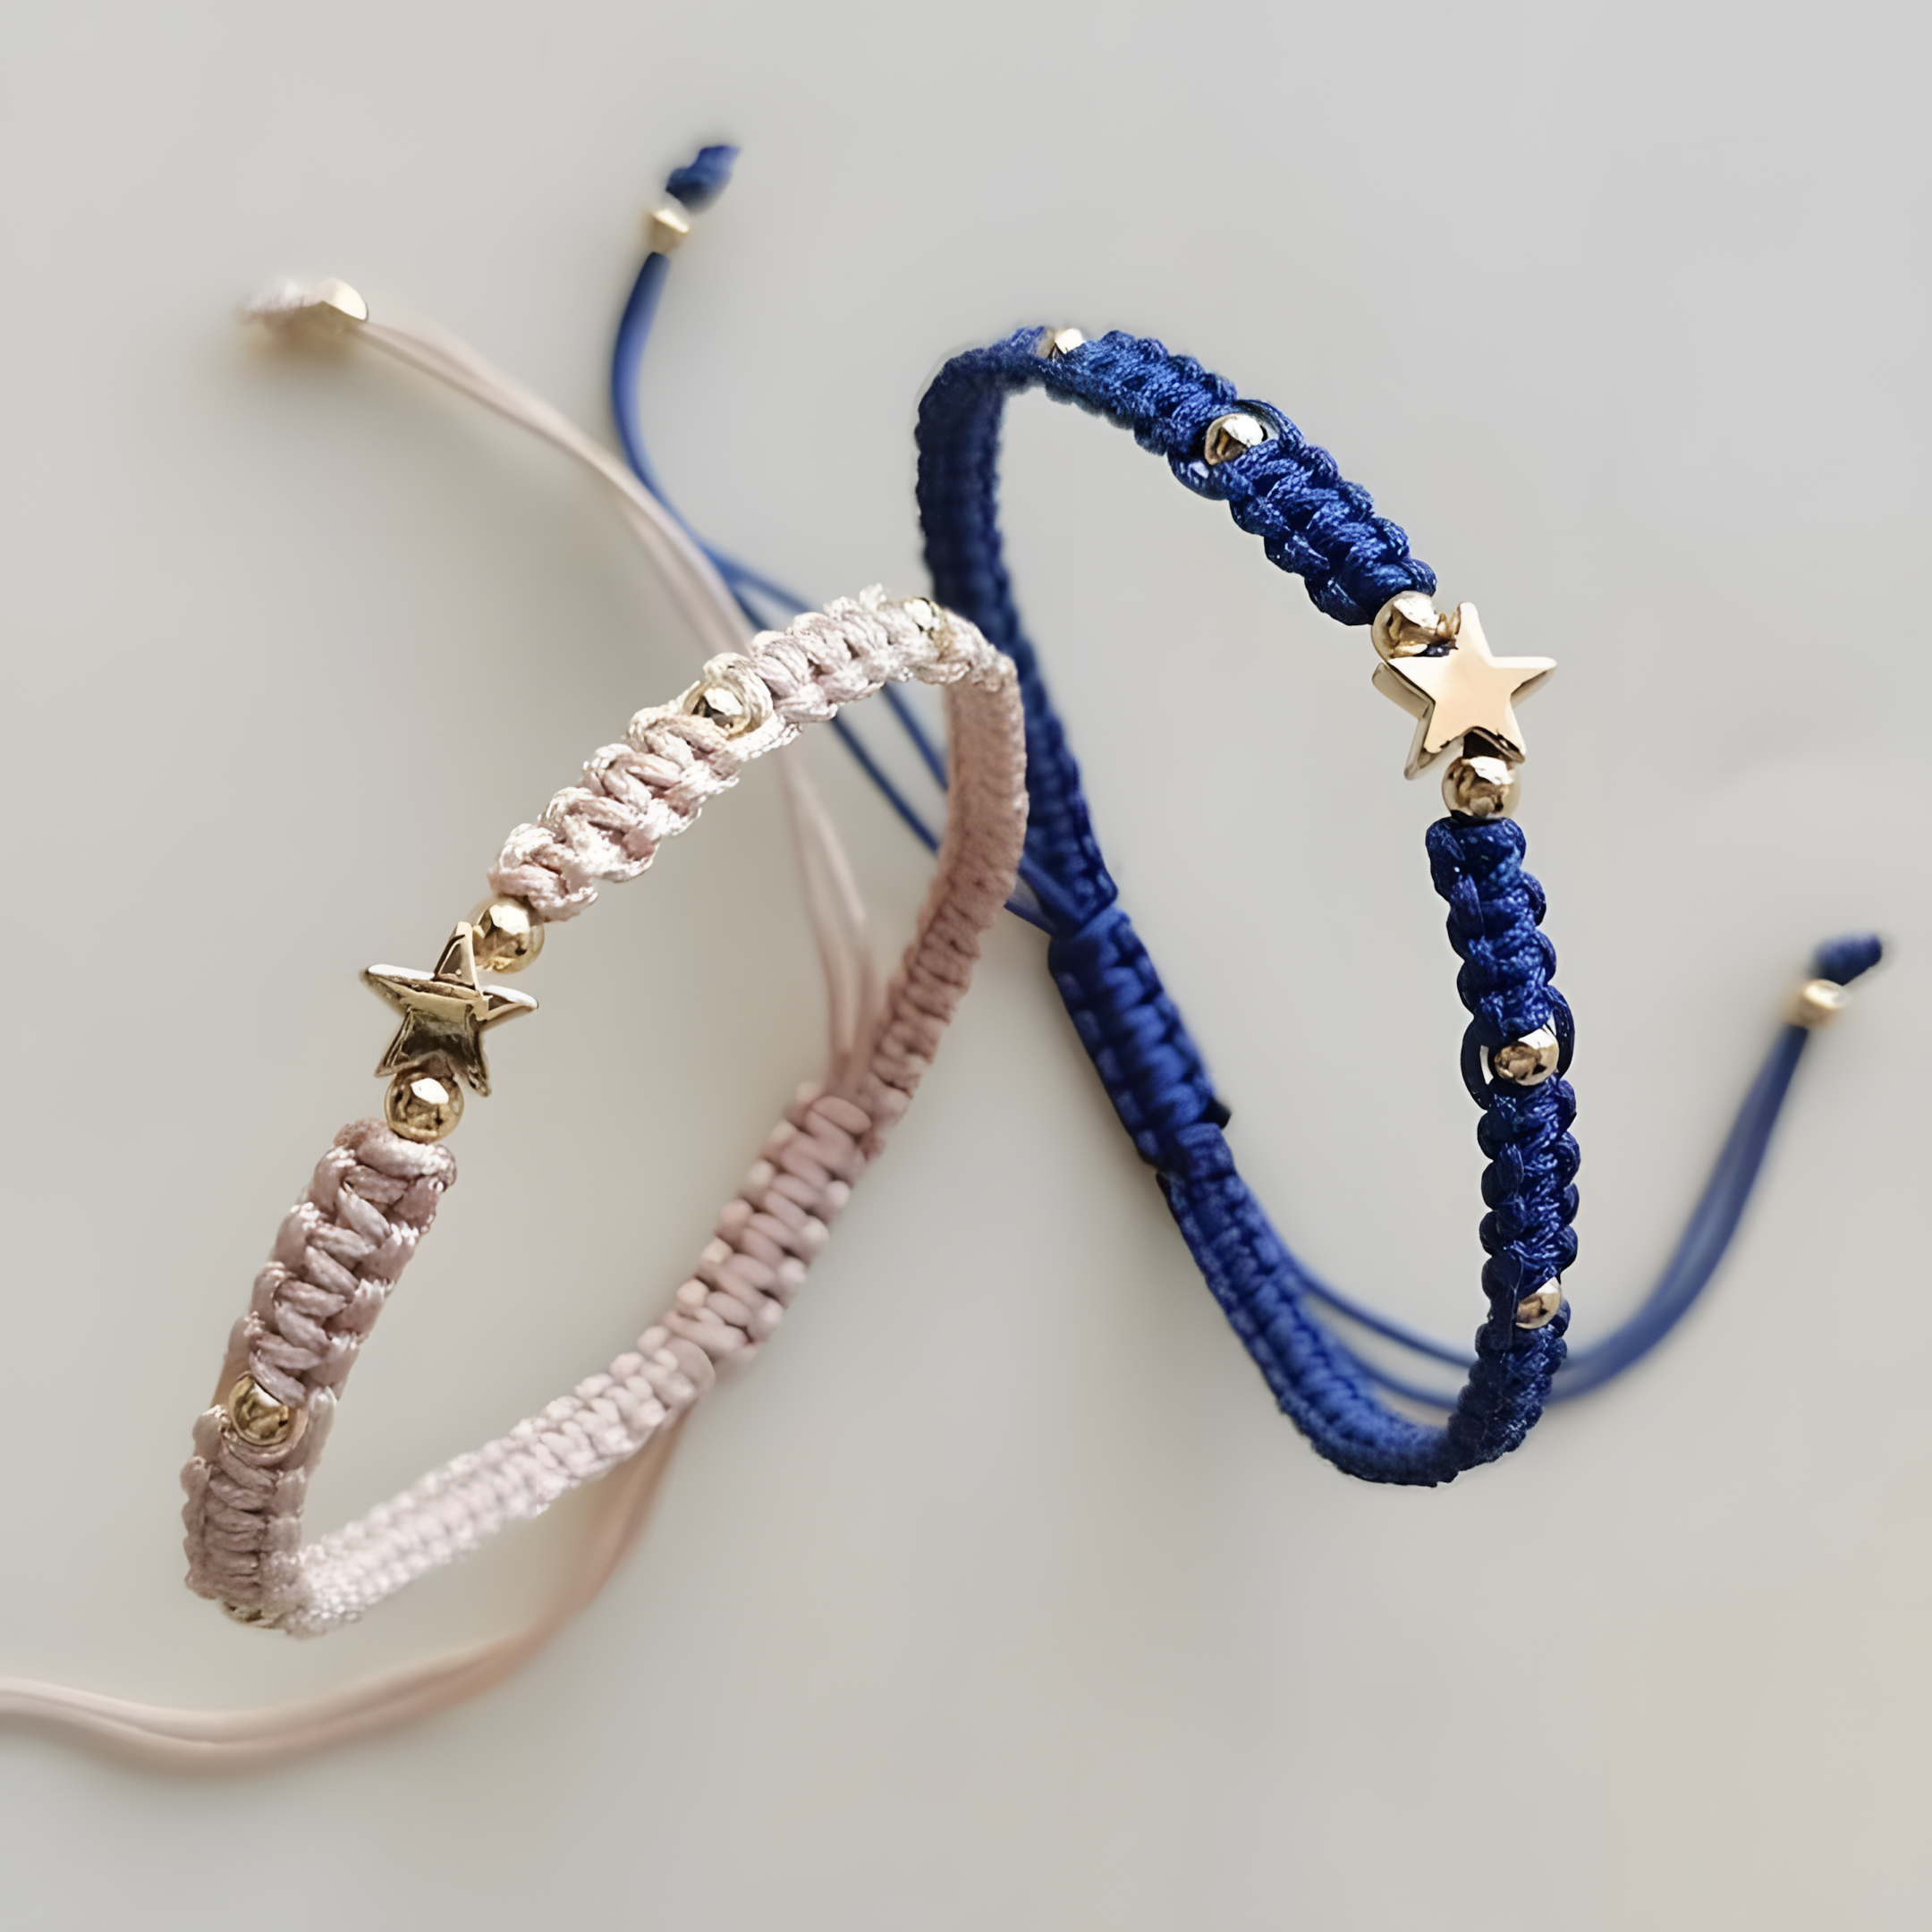
Waxed cord is stiff enough to hold its shape while you weave, yet soft enough to sit comfortably on the wrist. It is water-resistant and incredibly durable. For this project, I recommend a 1mm or 1.5mm thickness. You can find it in hundreds of colors; in the image above, we are looking at a “Blush Pink” and a deep “Navy Blue,” but the possibilities are endless.
Selecting Your Star Charms and Accent Beads
The focal point of this bracelet is the gold star. When sourcing your star, look for high-quality brass or gold-plated zinc alloy—they are hypoallergenic and won’t turn your skin green.
Do not overlook the small spacer beads next to the star. In the photo, you will notice tiny 3mm gold beads flanking the star. These are not just decoration; they act as “stoppers.” They create a clean visual boundary, separating the star from the woven cord and making the charm pop. They also prevent the star from sliding around on the center cords.
The Necessary Tools
Your toolkit is minimal:
- Sharp scissors (fabric scissors work best).
- A standard lighter.
- A clipboard or a heavy binder clip (to anchor the top of your bracelet while you weave).
Step-by-Step: Weaving the Foundation of the Star Bracelet
Okay, let’s get to the good stuff. We are going to build the bracelet step-by-step, just like the craftsman who made the set in the photo.
Step 1 – Measuring and Cutting the Cord
This is the most common place where beginners fail. They cut their cord too short. You need to cut four times the length of the intended final bracelet, plus a little extra for the finishing knots. If your wrist is 7 inches, cut a 30-inch strand. You also need a separate, smaller piece (around 12 inches) for the sliding closure at the end.
Step 2 – Starting with the Sliding Loop
Take your long strand and fold it in half. At the folded center, tie a simple overhand knot to create a small loop. This loop is the “anchor” of your bracelet. It will eventually slide over the finishing knot at the opposite end to secure the bracelet.
Pin that loop to your clipboard. Pull the two long strands down towards you. Now, take the two “working” strands (the ones on the outside), and start weaving around the two “center” strands.
Step 3 – The Square Knot Weave (The Body)
This is the pattern that gives the bracelet its beautiful, braided “Cobra Weave” texture.
- Take your left working strand, cross it over the two center strands.
- Take your right working strand, bring it over the left strand, go under the center strands, and come up through the loop on the left side.
- Pull it tight.
- Now, reverse it. Take the right strand, cross it over the center.
- Take the left strand, go over the right, under the center, and up through the loop on the right.
- Pull tight.
You have now completed one Square Knot! Repeat this process, creating a solid, textured band.
Creating the Focal Point: Incorporating the Star and Beads
Knowing Your Knot Count
To ensure the star sits dead-center on your wrist, you must count your knots. If you want a “wrist-to-wrist” placement, tie 12 knots (depending on the size of your wrist). Stop weaving right after your 12th knot.
Threading the Gold Spacers and Star
Now, take your two center cords (the ones sitting underneath the weave) and thread one of the small gold spacer beads onto them. Push it all the way up against your last knot. Next, thread your gold star charm onto the same two center cords. Finally, add the second small gold spacer bead.
Slide this “sandwich” of beads tightly against your knots. Now, you are ready to resume weaving. Pick up your outside working cords and tie exactly the same number of Square Knots on the other side of the star (so, another 12 knots).
Mastering the Finishing Touches: The Adjustable Sliding Knot
If you look closely at the trailing ends of the bracelets in the image, you will notice they are not tied off in a permanent loop. They use a “sliding knot” closure.
The Double Half-Hitch Closure
To do this, take the two small tail cords at the very bottom of your weave. Lay them parallel to each other. Take one of your long tail cords, loop it around both the parallel cords, and tie a simple Half-Hitch knot, pulling it tight. Repeat this about 4 times. Then, take the other long tail and do the exact same thing on the opposite side.
This creates a textured, braided barrel that runs along the parallel cords. The parallel cords can slide through that barrel, allowing the wearer to tighten or loosen the bracelet at will.
Sealing and Cutting the Ends
This is the step that separates a beginner from a pro. Take your lighter and briefly pass the flame near the very tips of the four tail cords. You want the synthetic nylon to melt into a tiny, shiny bead. Do not touch the hot liquid plastic with your fingers. Once the beads cool, they are sealed, preventing any fraying.
Pro-Tips for Customization and Personalization
Now that you know the basics, it’s time to make it yours.
Mastering the Color Palette
The image features a beautiful “His and Hers” or “Bestie” duo—a soft pastel pink and a rich midnight blue. When choosing colors, think about the recipient. Warm jewel tones (ruby red, emerald green) look stunning with gold stars. Soft neutrals (beige, cream, slate grey) give the bracelet a minimalist, luxury aesthetic.
Mixing Charms
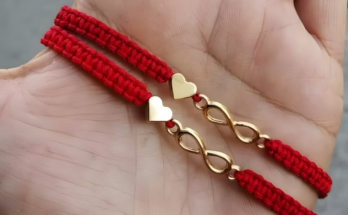
Don’t feel restricted to stars! The exact same technique can be used with tiny gold hearts, crescent moons, or even laser-engraved initial charms. If you are making a bracelet for a best friend, swapping the star for a heart half of a “split heart” charm adds so much sentimental value.
Caring for Your Handmade Star Macrame Bracelet
Because you spent time crafting this, you want it to last.
Practical Maintenance
The waxed cord is water-resistant, which means it won’t rot if you get caught in the rain. However, the gold plating on the charm is delicate. I recommend removing the bracelet before swimming in chlorinated pools or showering with harsh soaps, as this can dull the gold finish over time.
Storage Solutions
Macrame cord likes to hold its shape. If you toss it into a drawer, it may develop a tight “memory kink.” To avoid this, store your bracelets flat, or gently hang them over a jewelry stand.
Conclusion: A Little Star for Your Wrist
Macrame is a quiet, rhythmic craft. It doesn’t demand intense concentration; it asks for patience. As you tie those repeating knots, you are pouring a bit of your own calm and effort into a tangible object. When you finally slide that gold star onto the center cords and take a step back, you won’t just see a bracelet.
You will see a piece of art that you built, knot by knot. Whether you gift these to your closest friends or keep them as a personal reminder of your creativity, these star macrame bracelets are a beautiful way to wear a little bit of handcrafted starlight every single day.
Now, I want to hear from you. Are you a macrame beginner? What color combination are you dying to try first—or do you have your heart set on a silver star instead of gold? Drop your ideas and your questions in the comments below, and let’s start weaving together!