Learn how to make stunning DIY Heart & Infinity Macrame bracelets! Our expert guide covers weaving, connecting gold charms, and creating the perfect matching set for couples or best friends.
There is something undeniably special about a matching set of jewelry. It doesn’t just decorate the wrist; it makes a silent promise. When you look down and see a red braided band with a gleaming gold charm, and you know that across town, your best friend or partner is wearing the exact same piece, there is a palpable, comforting connection.
These matching “Heart and Infinity” macrame bracelets are currently taking over the handmade jewelry scene. They aren’t just trendy; they are deeply symbolic. The heart speaks of love, and the infinity symbol whispers of eternity.
The best part? You do not need a million-dollar manufacturing facility to create these. With a little bit of patience, some high-quality waxed cord, and a few beautiful gold accents, you can weave a piece of “eternity” right at your own kitchen table. Today, I am going to walk you through the exact process, sharing the professional tips and tricks that ensure your handcrafted bracelets look as flawless as the ones in our photo.
Why Match? The Emotional Power of Couples and Friendship Jewelry
Before we get into the mechanics, let’s talk about the “why.” Why do we crave matching accessories?
The Psychology of the “Tethered” Look
Psychologists often speak about the concept of “social signaling.” When we wear matching items, we are subtly broadcasting to the world that we belong to a specific unit. It is a visual tether. For couples, it is a romantic reminder of commitment. For best friends, it is a physical representation of the “ride or die” mentality.
In an age where we are increasingly digitally connected but physically isolated, wearing a physical, handmade token of a relationship is incredibly grounding. It is a conversation starter. It is a reassurance.
Decoding the Symbols: Heart and Infinity
The specific hardware chosen for this design is no accident. The heart is the universal symbol of affection, compassion, and love. It needs no explanation. However, the infinity symbol (the sideways figure-eight) carries a beautiful, mathematical poetry. It has no beginning and no end, representing an unbroken cycle. When you pair a heart with an infinity symbol, you are essentially saying, “My love for you is endless.” It is the ultimate romantic or platonic statement.
Gathering Your Materials: The Artisan’s Toolkit
Now, let’s get to the supplies. The biggest mistake beginners make is using the wrong material.
Choosing the Right Cord: Waxed Nylon vs. Cotton
If you go to a craft store and pick up a basic cotton macrame cord, your bracelet will end up looking fuzzy. It will fray, and the knots will loosen over time. For a crisp, professional look like the red bands in the photo, you must use 1mm Waxed Polyester Cord (often called waxed nylon).
Waxed cord is stiff enough to hold its shape while you weave, but soft enough to be comfortable on the wrist. It is water-resistant, meaning you can wear it in the rain without it stretching out. The “wax” coating also provides friction, ensuring your square knots lock tightly and never slip.
The Metal Foundation: Selecting the Heart and Infinity
When you shop for the gold charms, pay close attention to the jump rings (the tiny loops that connect the metal to the string). You must look for soldered closed jump rings.
If you buy cheap, unsoldered jump rings, the tension of the cord will eventually pull the ring open, and the center of your bracelet will fall apart. You want sturdy, gold-plated zinc alloy or brass pieces. They are hypoallergenic and durable.
Essential Tools
Your toolkit is beautifully simple:
- Fabric Scissors (Sharper than craft scissors).
- A standard Bic Lighter.
- Two Binder Clips (to hold your work steady while your hands are busy tying knots).
Step-by-Step: Weaving the Red Macrame Foundation
Alright, let’s tie some string! We will build the solid, braided foundation first.
Step 1 – Measuring and Preparing Your Cords
This is a lesson I learned the hard way after running out of cord halfway through a bracelet. Cut your cord to be 4 times the length of your desired finished bracelet. If you want a 7-inch bracelet, cut a 30-inch strand. You also need a smaller, 10-inch piece for the sliding closure at the very end.
Step 2 – The Anchor Loop
Take your long strand and fold it in half. At the very top of the fold, tie a simple overhand knot. This creates a small, tight loop. Clip this loop to your work surface (or a clipboard) using your binder clip. This anchor holds the tension perfectly so you can weave freely.
Step 3 – Mastering the Square Knot (The Cobra Weave)
This is the heart of the bracelet. You will have two center cords (straight down) and two working cords (on the outsides).
- Take the Left working cord, cross it over the two center cords.
- Take the Right working cord, go over the left cord, under the two center cords, and come up through the loop on the left.
- Pull it tight. This is half a knot.
- Now do it in reverse: Take the Right cord, cross it over the center.
- Take the Left cord, go over the right, under the center, and up through the loop on the right.
- Pull it tight.
You have just completed one full Square Knot! Repeat this in a rhythm, creating a beautifully textured, braided band.
The Critical Challenge: Connecting the Charms and Hardware
This is the part of the project that makes the biggest visual impact.
Understanding the “Split” Design
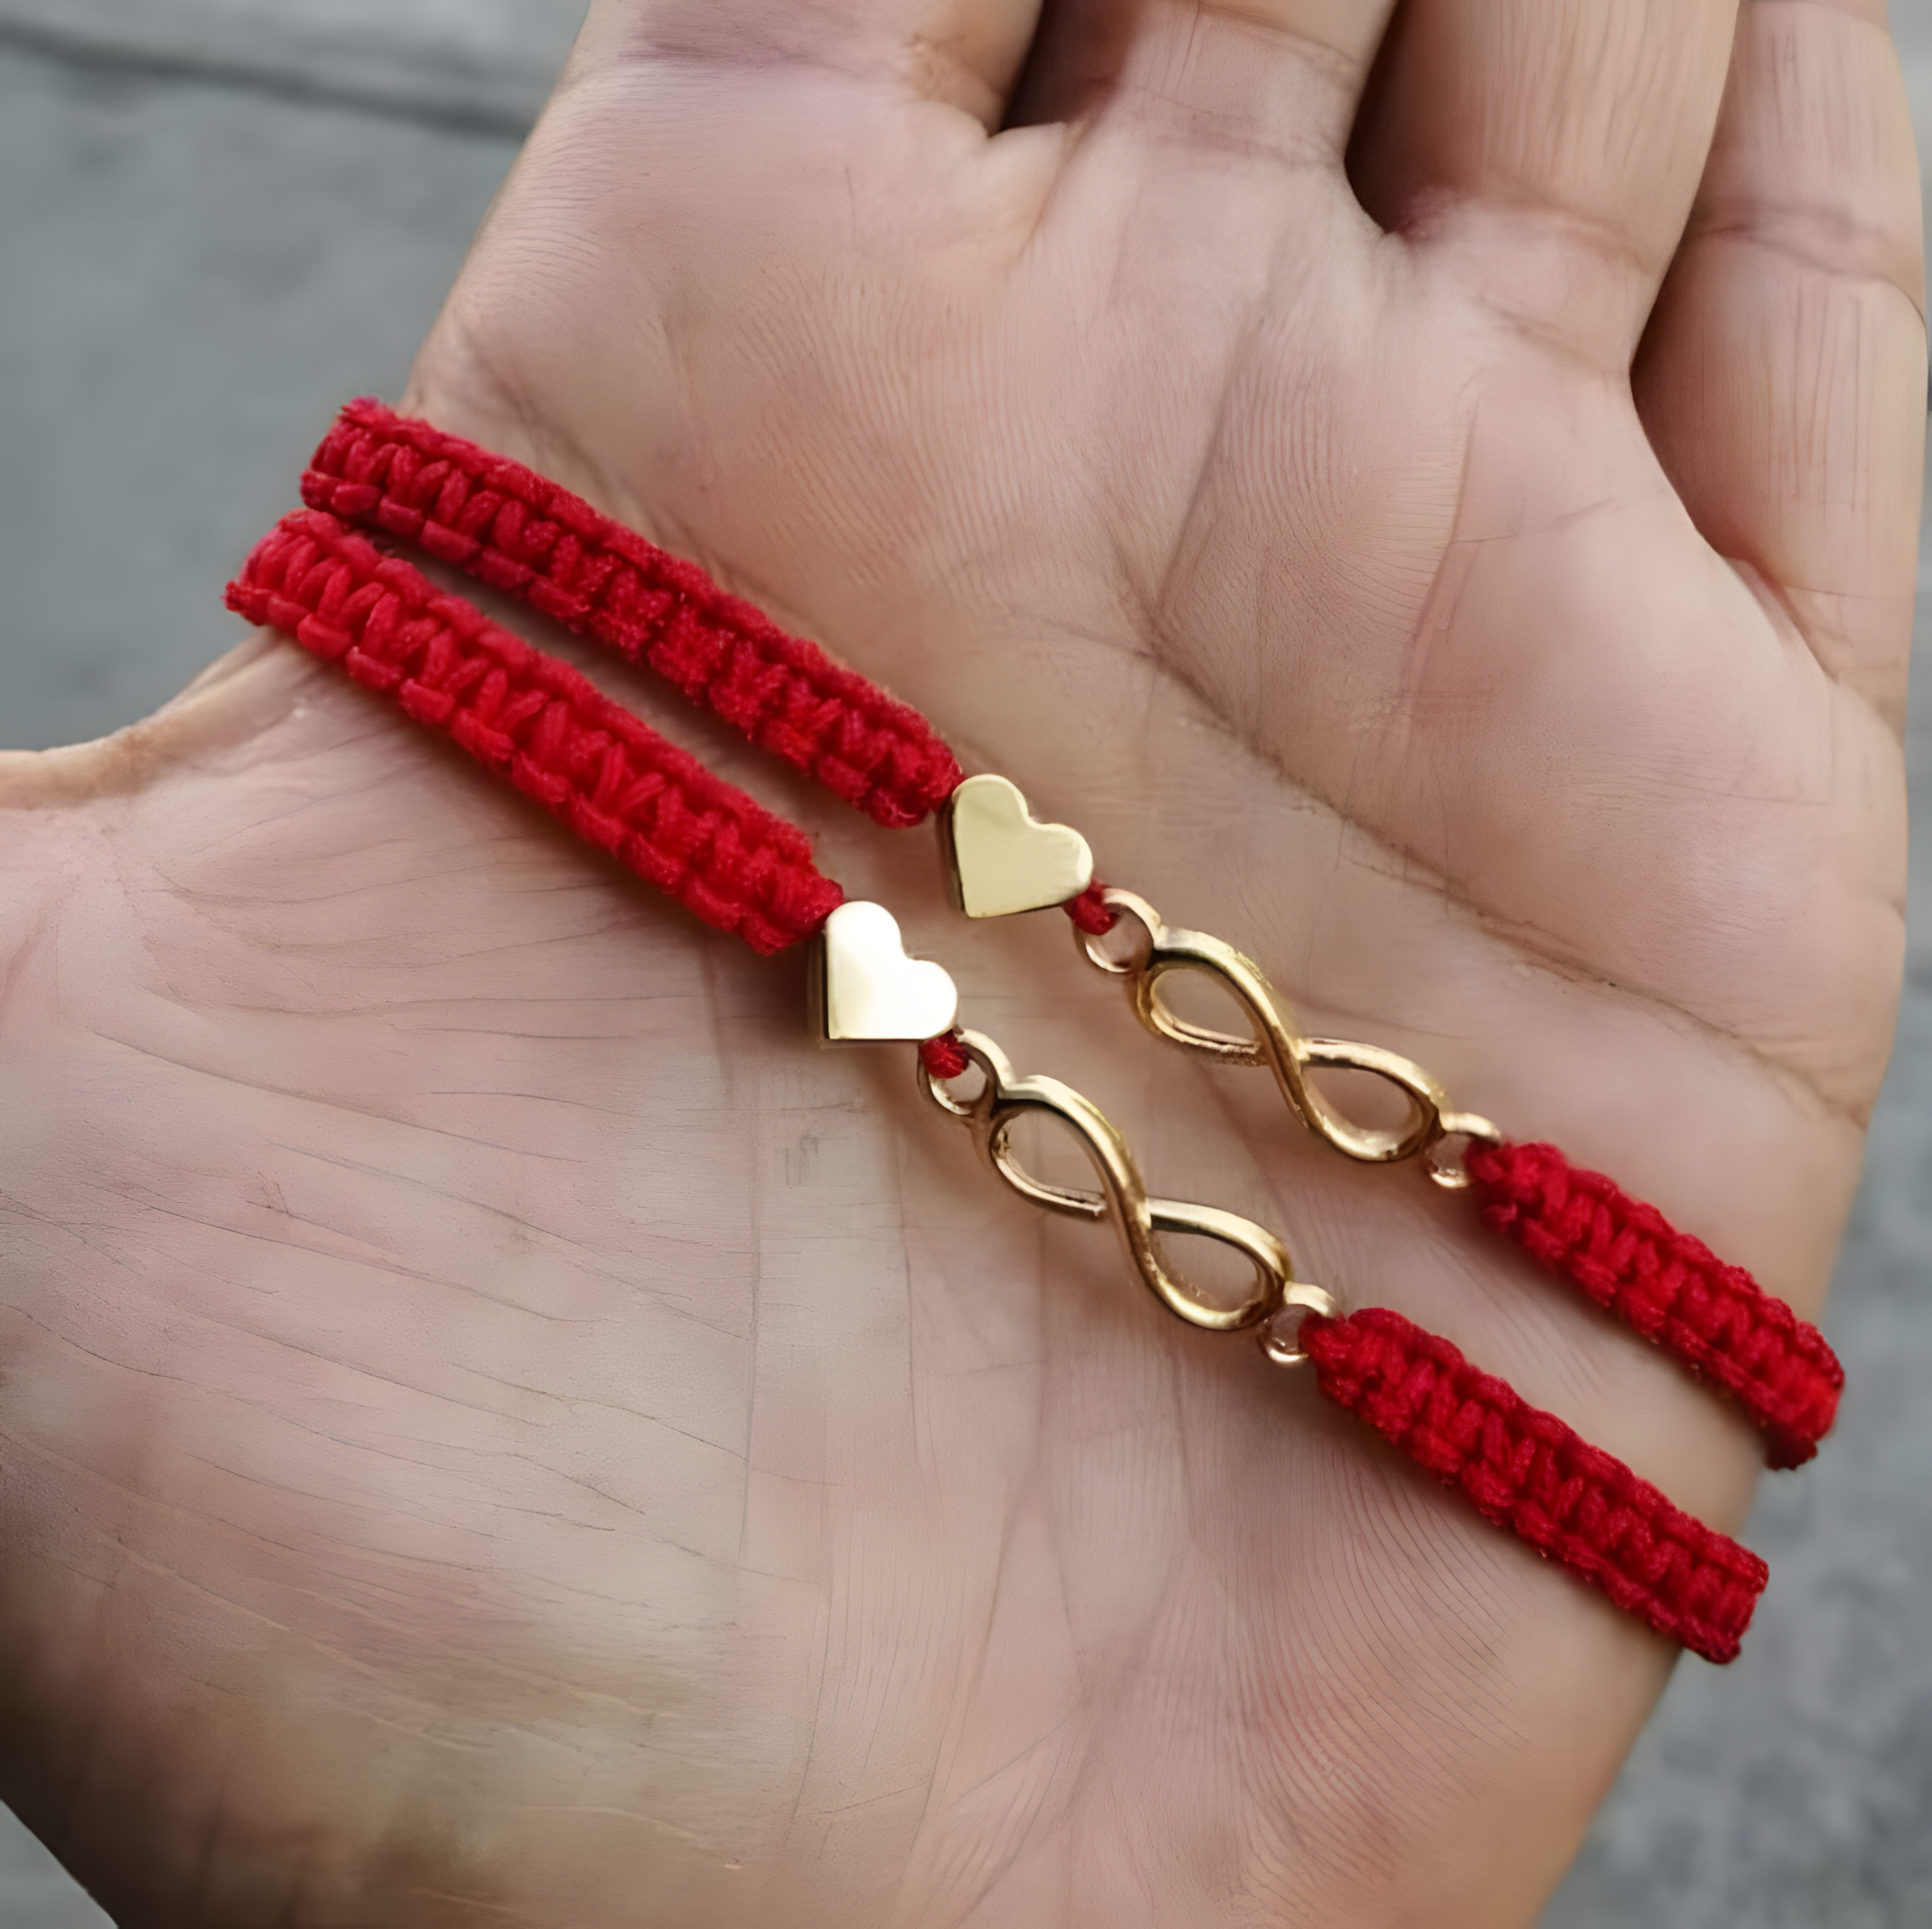
Look closely at the photo. You will notice the bracelet is not one continuous weave. It stops, connects to the gold hardware, and then resumes. To achieve this, you will tie the square knot pattern for about 1.5 inches. Then, you stop weaving.
How to Securely Attach Gold Charms to Cord
Take your two center cords (the ones underneath the weave). Thread them through the tiny loop at the bottom of the Infinity Symbol. Push the infinity charm up so it rests tightly against the final knot of your macrame weave.
To lock it in place, take the two center cords and tie an Overhand Knot directly behind the infinity charm. Pull it as tight as humanly possible. This tiny knot acts as a “stopper,” preventing the heavy gold charm from sliding backwards into the weave.
Now, take the two working cords (the ones you were weaving with), and continue tying your square knots for another 1.5 inches on the other side of the infinity charm. You will eventually do this exact same process with the Heart charm at the very bottom of the bracelet.
Mastering the Closure: The Adjustable Sliding Knot
If you look at the ends of the bracelets in the photo, you will notice they aren’t permanently tied; they are loose. This is a “sliding closure.”
Creating the “Paracord” Style Finish
To do this, take the two long tail cords at the bottom of your weave. Lay them parallel to each other. Take one tail and wrap it tightly around the other three parallel cords, doing a continuous loop. Do this about 4 or 5 times, pulling it tight each time. Then, pass the tail end through the bottom loops.
When you pull on the parallel cords, the wraps act as a barrel that slides up and down, allowing the wearer to adjust the tightness of the bracelet. It fits any wrist size!
The Melt and Seal Finish
This is a critical, trustworthy safety tip. Take your lighter and pass the flame briefly near the very tips of the four tail cords. The heat will melt the synthetic nylon into a tiny, glossy bead. Let it cool for 2 seconds before touching it.
Safety Warning: The melted nylon is incredibly hot. If it touches your skin, it will stick and burn. Always place the lighter down on a heat-safe surface.
Customization: Making the Bracelets Uniquely Yours
This is where you can inject your own personal flair.
Exploring the Color Palette
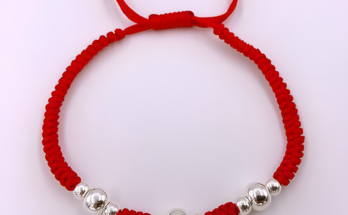
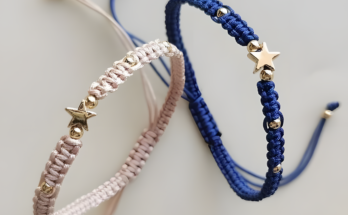
In the image, the bracelets are a bold, vibrant red. In many cultures, red is the color of good luck, passion, and protection, making it an incredibly popular choice for “His and Hers” sets. However, you can switch this up. Deep royal blue symbolizes loyalty. Soft blush pink is incredibly romantic and subtle. Silver cord with silver hardware gives a minimalist, modern aesthetic.
Adjusting Charm Placement
If you are making these for your best friend, you could swap the Infinity symbol for a tiny moon, and the Heart for a tiny star. The structural technique remains identical; you simply swap out the metal hardware for something that resonates with your specific relationship.
Care and Maintenance for Your Handmade Jewelry
You have put love into this craft; you want it to last.
Protecting the Gold and the Cord
The waxed cord is incredibly tough, but the gold plating on the charms is delicate. To keep the bracelets looking shiny, remove them before swimming in chlorinated pools or applying heavy perfumes, as the chemicals will dull the gold over time.
Storing Your Matching Set
Because the middle of these bracelets is a rigid metal “bridge,” you need to store them carefully. If you toss them into a bag, the metal might bend under pressure. It is best to hang them, or lay them flat in a dedicated jewelry box, keeping the two pieces touching each other.
Conclusion: A Thread That Binds Us
There is a deep, poetic symmetry to macrame. Every knot you tie is a decision to keep the cord connected. When you weave this bracelet for someone you love, you are doing the same thing—making the conscious choice to stay connected to them.
The combination of the deep red cord, the solid gold heart, and the endless infinity symbol turns a simple craft project into a wearable love letter. Whether you gift this set for an anniversary, a birthday, or just because, the recipient will feel the effort, the patience, and the thought woven into every single loop.
Now, I want to hear from you. Are you making these for a romantic partner, or are you making a “Bestie” set for your absolute favorite person? What color cord are you planning to use? Drop your ideas and your questions in the comments below—I would love to see your designs come to life!